

 Roll over image to zoom in
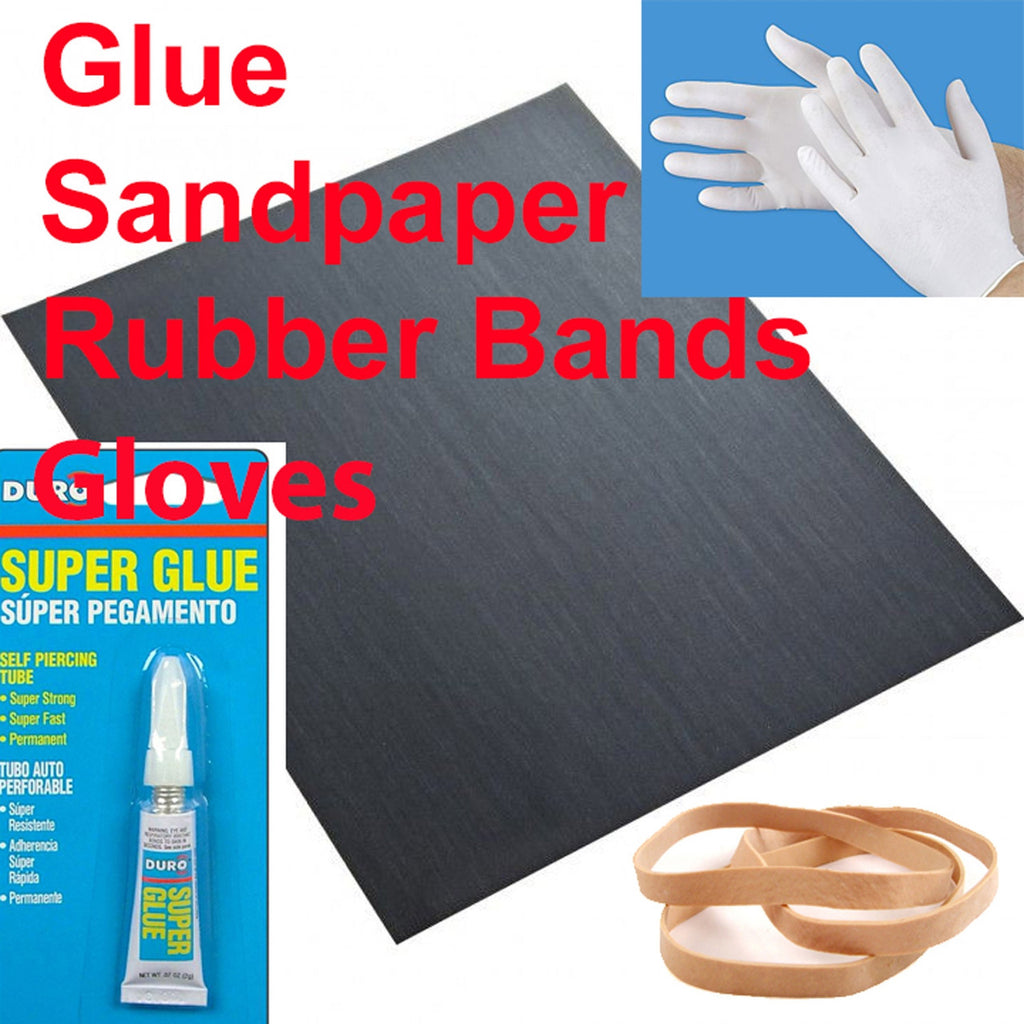
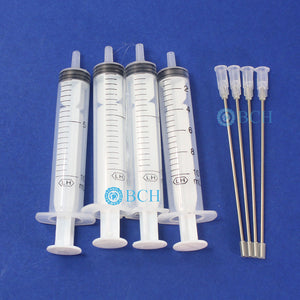
Glue + Gloves + Sandpaper + Rubber Bands
For your convenience. Cartridge MOD Convenience Package Includes: 1 pair of gloves 1 tube of glue 1 piece of sandpaper 2 rubber bands Gloves One pair of Kimberly-Clark® Powder-Free...
$9.99
SKU:
AS-PARTS-GGSR
Categories:
Tags:
For your convenience.
Cartridge MOD Convenience Package
Includes:
- 1 pair of gloves
- 1 tube of glue
- 1 piece of sandpaper
- 2 rubber bands
Gloves
- One pair of Kimberly-Clark® Powder-Free Nitrile-Xtra Gloves
- Medium
- Proper use consistent with NFPA 1500 and 29 CFR 1910.132 General requirements of subpart I, Personal Protective Equipment
- Must wear gloves for the Super Glue
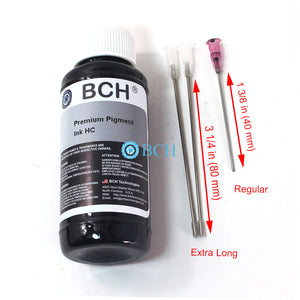
Glue:
- One tube of 2 g (0.07 oz) Super Glue with precision applicator
- Enough for 5 sets of cartridges (Black & Color)
- Apply to clean and dry surfaces
- Press parts together for at least 15 seconds
- Use the rubber band to hold the cover and cartridge for at least 2 hours
- Wear gloves. Wear eye protection. Keep out of the reach of children.
Warning: Contains Cyanoacrylate. May cause an allergic skin reaction.
Directions: Tube opens when cap/nozzle are screwed onto the tube. The tube must be pierced before using. Point tube away from face and body. Do not squeeze tube while puncturing. To puncture, screw nozzle and cap assembly onto tube completely. To use, remove the outer cap. Clean tip after use. Replace outer cap and store in cool, dry place. Do not spread glue with fingers.
For accidental eye contact, flush with water for 15 minutes; get medical attention for eye or internal contact. To remove from skin, soak in acetone nail polish remover and gently peel adhesive off with the fingernail; water exposure with wear off residual adhesive within a few days. Do not use polish remover around the eye area. For ingestion, do not induce vomiting; call a physician.
Fingers Bounded? Soak bonded skin with warm soapy water. Gently massage bonded fingers back-and-forth to "peel" bound apart. Use rolling, peeling motion - do not pull!
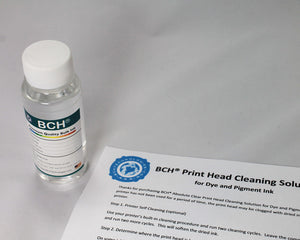
Sandpaper
- One piece of 150 grit sandpaper by 3M®
- 3M® PRO Grade Precision
- Made in USA or Canada
- Lasts 3-5 times longer than other sandpapers (our experience)
Rubber bands
- Two pieces of rubber bands
Related products
Add your product to the cart to view shipping rates. We've delivered to 289,762 customers in 149 countries.

Sign up for our newsletter to get weekly coupons and tips on printer refills and repairs.
Got a question? Don't hesitate to email us at support@bchtechnologies.com
Subscribe to Kevin's YouTube channel for the latest tips on printer repair and maintenance.
Recently viewed


VERY VERY SUPER PRODUCT. I purchased this product from Kevin and I can always say that Kevin is the best. Kevin definitely creates the best videos on the web. He has the best products and I always buy from him. Kevin also always recommends the best methods. I always recommend buying BCH TECHNOLOGIES products to always have perfect printers.
Alessandro R.
Instruction Sheet for L1800 / 1390 Printhead Testing with Multimeter (Digital Download) Instant Download — Delivered to Your Email
Best thing ever!! i used to put cleaning solution in the capping station with a syringe/hose then had to suck out f the wast line with a syringe.... over and over until the capping station was clean. maybe up to 10 times. now i just use maybe 1 or 2 - 30ml syringes full of water and the pump cleans it out so good.... then I put capping solution, place printhead over capping station and turn on the back of the machine. thats it. when i print again, usually next day, I pull from waste tank a few times until I get ink, then i run 1 head cleaning , print a test strip and usually good to go. I sometimes print a 2nd test strip. SO MUCH easier to use this little pump. so glad I bought it.
Ruth F.
TMS Printhead Maintenance System by BCH: Comprehensive Cleaning and Maintenance Solution
This is a must have modification to save time troubleshooting. You will need to download Kevin's capping station video to disassemble the capping station. A definite must. You will also need a few other connections to hook this up. All parts are linked in his videos. Pro tip. Have patience and go slow. This modification will save you from a lot of headaches . I did this mod on Procolored L1800 about a year old . Thanks Kevin.
Vincent K.
Waste Ink Collection Tank Combo with Small Tube for Epson (AS-EP-WASTE-25MM)