


 Roll over image to zoom in
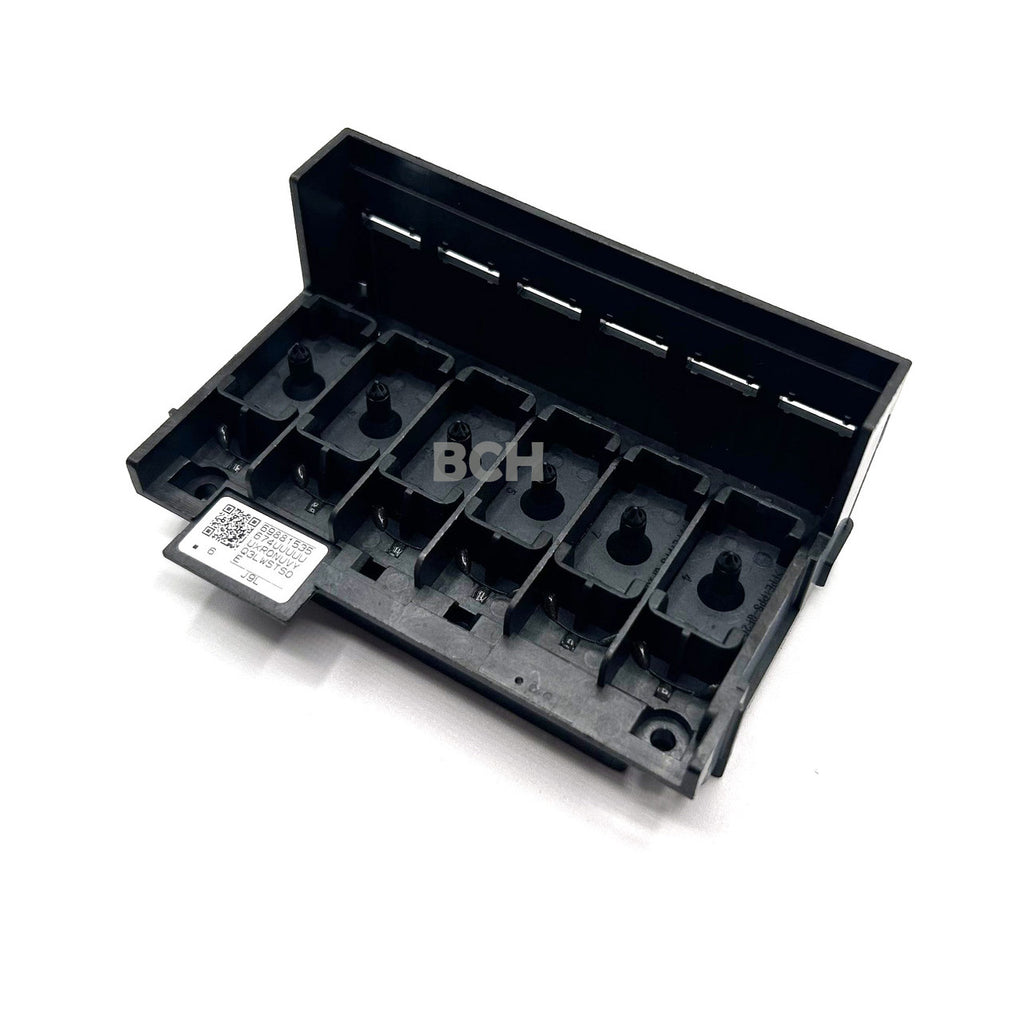
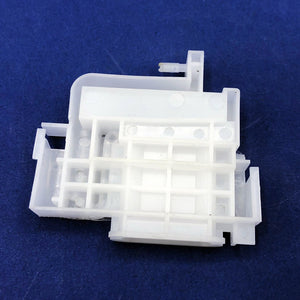
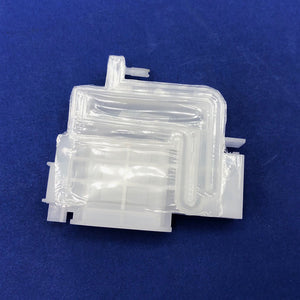
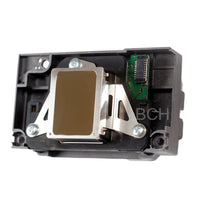
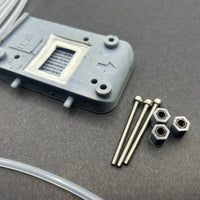
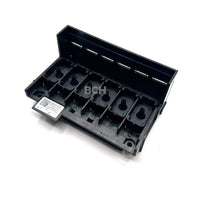
PNC - Printhead Nipple Conversion Kit for Epson ET-8550
PNC - Printhead Nipple Conversion Cover for Epson ET-8550 DTF / Sublimation Enhance the performance of your Epson ET-8550 by upgrading from a mesh intake to a nipple system with...
$56.99
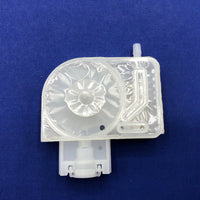
PNC - Printhead Nipple Conversion Cover for Epson ET-8550 DTF / Sublimation
Enhance the performance of your Epson ET-8550 by upgrading from a mesh intake to a nipple system with our Printhead Nipple Conversion Cover. This conversion significantly improves ink flow, reduces clogs, and addresses the leakage issues commonly found with the standard mesh intake.
Our conversion cover replaces the problematic mesh intake, known for causing white ink clogs and leaks, with efficient nipples. When combined with our V-2 Top Load White Ink Dampers, it ensures smoother ink delivery and easier maintenance. This product is designed for experienced users familiar with printhead conversions.
Key Information:
- This product is specifically tested with our V-2 Top Load White Ink Dampers and may not be compatible with other dampers.
- Converting a printhead requires technical skill. If you're new to this, we recommend watching the detailed installation video linked below for guidance.
- The video also includes a complete "shopping list" of required parts.
Items You May Need for This Conversion (this listing only includes the Cover):
- Nipple Conversion
- Printhead Nipple Conversion Cover (this listing)
- 6 x V-2 Dampers (not included)
- 6x Small Profile Connector for V2 Dampers (not included)
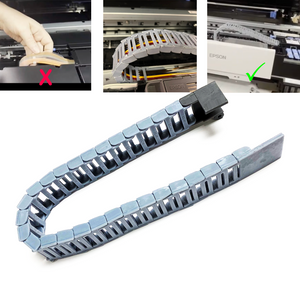
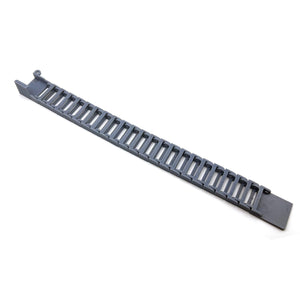
- Optional: You don't really need to install a drag chain, but I think you do:
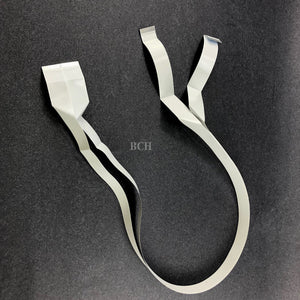
- 1x Drag Chain for Epson ET-8550 (not included)
- 1 to 2 orders of 8-Strand Tubing (not included)
- Optional: If you find the tubing is too short, this cover will save about 1/2 inch of tubing
- 1x Simple Tube Cover (not included)
- Optional:If you want to waterproof the printhead
- Silicone Sealant (not included)
- Printhead Cover (optional) (not included)
A Word of Caution: Sealing the printhead requires precision. While non-conductive silicone glue won’t damage your printhead, poor workmanship might. Excessive cleaning can also damage the printhead, so proceed with care.
For full installation details and part breakdown, watch the video below.
PNC Cover Installation:
This video provides a detailed, step-by-step installation guide. However, it does not cover the installation of the Small Profile Connector for V2 Dampers. For instructions on installing the Connector, please refer to the video below.
Drag Chain and Clear Tubing Installation
How to install Small Profile Connector for V2 Dampers
It is coming up.
Simplified Installation Video
Related products


Add your product to the cart to view shipping rates. We've delivered to 289,762 customers in 149 countries.

Sign up for our newsletter to get weekly coupons and tips on printer refills and repairs.
Got a question? Don't hesitate to email us at support@bchtechnologies.com
Subscribe to Kevin's YouTube channel for the latest tips on printer repair and maintenance.
Recently viewed


Yes, you can easily make your own with a washed out water bottle but these come ready to go and are a better quality plastic. I won’t be using mine as a waste tank since I have a my CISS but will be using the bottle for my maintenance and cleaning solutions.
David Sustaita
XLARGE Waste Ink Collection Tank Combo with Small Tube for Epson (AS-EP-WASTE-25MM)
I can’t say enough about this company! Sent my main board in for repair and they were fast and the cost was reasonable. They are also quick to respond. This is not the first item I’ve purchased from them and won’t be the last. Also, the YouTube videos are a must to watch!
Nancy Donaldson
Fast Track Mainboard Repair: L1800, XP-15000, ET-15000, WF-7610 7620, WF-7110, WF-7710 7720, ET-8550, ET-2720, ET-2750Printer Mainboard, Formatter Board, Motherboard Troubleshooting and Repair
I have an old Epson ET-2750 eco tank printer, which I have used for years, and since it is uses refillable ink tanks, have used very little ink over the years. I love this printer because I can print lots and lots of pages, including double-sided at very low cost, and it is very reliable. I recently had a paper jam, which is very unusual. When I took off the back panel to clear the jam, I accidentally dropped it on the floor, and when I replaced the back panel, the printer jammed every time I tried to print double-sided. I found a small plastic piece on the floor that fit on one end of the roller, but didn't realize I was missing the other end. I eventually noticed that there was a gear on the back panel next to where the roller fits into the panel. I deduced that I must be missing a gear to pop into the end of the roller, to mesh with the gear on the panel. I couldn't find the missing gear anywhere, and figured my cats must have lost it or my wife might have swept it up when sweeping the floor, and discarded it. Through a Google search, I found BCH Technologies, ordered the part from them, it fit perfectly, and now I can print double-sided again on my faithful old Epson printer. I very much appreciated being able to get the missing part from them. I thought the price for the part and shipping was high for such a small part, but that was the only down side.
Daniel Parker
Duplex Roller Feed Gear for Epson Printers