


 Roll over image to zoom in
F1 Fuse (also labeled F2, F3, F203, and similar) for Epson Mainboards – Fix Error 0x9A or 031006 on WF-7720, WF-7710, WF-3640, XP-15000, ET-2750, F-170, and more.
There are too many variations of this fuse to list. It may be labeled F2, F3, F201, F301, or another Fxxx identifier. This listing is NOT for the ET-8550, ET-8500,...
$7.99
There are too many variations of this fuse to list. It may be labeled F2, F3, F201, F301, or another Fxxx identifier. This listing is NOT for the ET-8550, ET-8500, or the L1800/R1390.
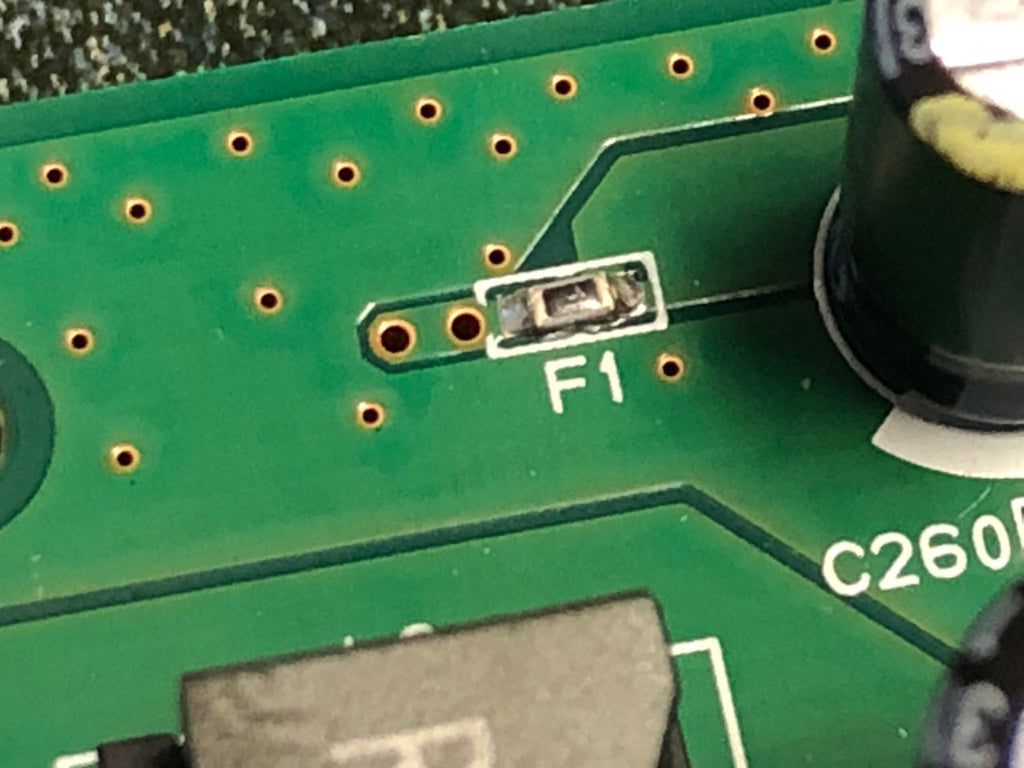
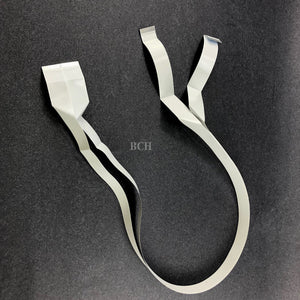
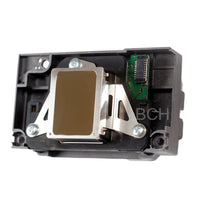
If the component on your board is marked with an “F” and is extremely small, this is the type of fuse you’re looking for. If your printer is displaying 0x9A or 031006, there is a strong likelihood that you have a blown printhead and possibly a burnt FFC cable as well.
Please be aware that this fuse is very tiny. We highly recommend that only trained professionals attempt this repair. We provide detailed photos, drawings, and videos to show the exact size of this component. If you are not comfortable performing precision soldering, please do not purchase this part. If you need assistance, consider asking neighbors with technical skills or searching “Makers around me” on Google. Most areas have Makerspaces or independent makers who can help with soldering.
Your order will arrive in an anti-static bag containing a small white envelope, and inside that envelope is the fuse itself—even smaller than you might expect.
If you are having trouble locating the F1 fuse on your Epson mainboard, you’re not alone. Remember that this fuse does not control whether the mainboard powers on. If the board will not power up at all, the more likely cause is blown transistors. Please see our video on diagnosing and replacing the MOSFET/transistor section. Replacement parts are shown below (click).
When the F fuse is blown, the printer often powers on but prints blank pages. (A clogged printhead can cause similar symptoms, so check both.) Use a multimeter to confirm fuse continuity. Many printers with a blown fuse will begin the startup sequence, stop halfway through, and then display 0x9A or 031006.
Fuse locations and markings vary by model. Some mainboards clearly label them as F1, F2, or F3. Examples include:
-
F1 fuse on CD86 MAIN – Epson ET-2650
-
F201 / F301 on several newer models
-
F1 fuse on CD77 MAIN – Epson WF-2750
-
F2 / F3 fuses on CD36 MAIN – Epson WF-7720 / WF-7710 (F1 is on the reverse side)
-
F1 fuse on CC97 MAIN – WF-7610 / WF-7620
How to replace: The demonstration video shows an ET-8550, but this listing is NOT for the ET-8550. The video is provided only to demonstrate the general process of removing and installing the fuse.
Related products


Add your product to the cart to view shipping rates. We've delivered to 289,762 customers in 149 countries.

Sign up for our newsletter to get weekly coupons and tips on printer refills and repairs.
Got a question? Don't hesitate to email us at support@bchtechnologies.com
Subscribe to Kevin's YouTube channel for the latest tips on printer repair and maintenance.
Recently viewed


VERY VERY SUPER PRODUCT. I purchased this product from Kevin and I can always say that Kevin is the best. Kevin definitely creates the best videos on the web. He has the best products and I always buy from him. Kevin also always recommends the best methods. I always recommend buying BCH TECHNOLOGIES products to always have perfect printers.
Alessandro R.
Instruction Sheet for L1800 / 1390 Printhead Testing with Multimeter (Digital Download) Instant Download — Delivered to Your Email
Best thing ever!! i used to put cleaning solution in the capping station with a syringe/hose then had to suck out f the wast line with a syringe.... over and over until the capping station was clean. maybe up to 10 times. now i just use maybe 1 or 2 - 30ml syringes full of water and the pump cleans it out so good.... then I put capping solution, place printhead over capping station and turn on the back of the machine. thats it. when i print again, usually next day, I pull from waste tank a few times until I get ink, then i run 1 head cleaning , print a test strip and usually good to go. I sometimes print a 2nd test strip. SO MUCH easier to use this little pump. so glad I bought it.
Ruth F.
TMS Printhead Maintenance System by BCH: Comprehensive Cleaning and Maintenance Solution
This is a must have modification to save time troubleshooting. You will need to download Kevin's capping station video to disassemble the capping station. A definite must. You will also need a few other connections to hook this up. All parts are linked in his videos. Pro tip. Have patience and go slow. This modification will save you from a lot of headaches . I did this mod on Procolored L1800 about a year old . Thanks Kevin.
Vincent K.
Waste Ink Collection Tank Combo with Small Tube for Epson (AS-EP-WASTE-25MM)