How to Refurbish Printers: Power Supply Repair
- By Ellen Joy
- On Nov 18, 2024
- Comment 0
I do a lot of printer repair, and one of the first things I check is for an inadequate power supply. A malfunctioning power supply can leave a printer dead in the water. I will take you through identifying, testing and fixing power supply problems in refurbished printers. Whether you are an experienced technician or just getting started, this manual will assist in clarifying the vital steps needed. To make it easier, there is also a video below that showcases the entire step-by-step process.
Identifying the Problem
A refurbished printer has notes like "not working." These hints are general, but they often point to broader problems. A printer with a note like this came on. The power delivery box showed signs of having experienced some trauma and could be pushed inwards with a finger due to the extreme brittleness of its case.
We can check the hardware status of the power supply as a first step. Check for any visible damage, like cracked casing or things you can see that look loose. While you will still be testing internal components afterwards, visual inspections often indicate where the problem lies if the unit seems intact.
Correct Substitution Energy Supply
If it can't be repaired, replacing the original unit with an appropriate replacement is the next logical step. In this case, the printer started out with a four-pin power supply box. An ST2000 power supply is considered a replacement since it uses four-pin as well.
When you are sourcing a replacement Power Supply, make sure:
- It has the same pin layout as the original.
- The printer model matches up with the power requirements.
- Correct size and mounting points.
I used it to replace the ST2000 power supply as a test, and after testing, the pin count matched up fine.
Convert Various Types of Power Cables
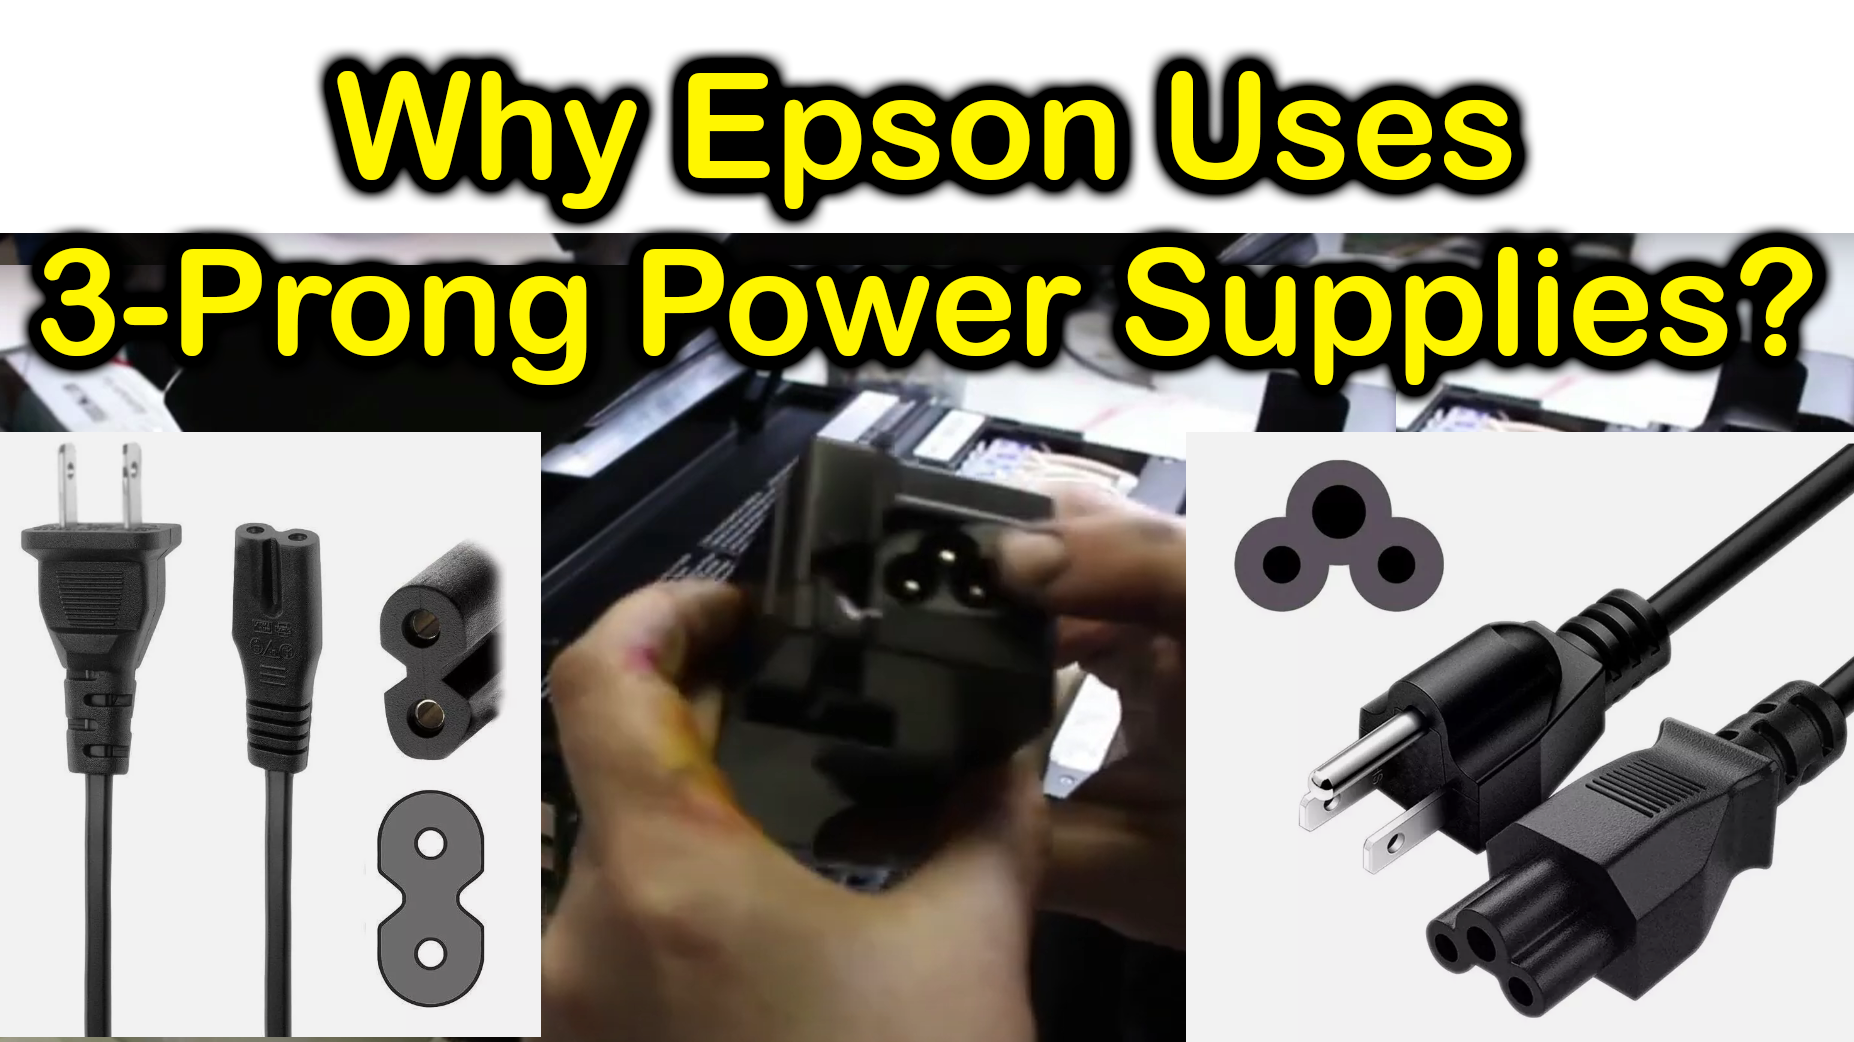
One of the differences between the ST2000 and ST4000 power supplies is the power cable type. The ST2000 has a two-prong cable, while the ST4000 features a three-prong cable. This seems like a huge difference, but there is an easy workaround.
In other words, if you convert a three-prong power supply to a two-prong one to use it in certain printers, swapping out the original, remember to fit a two-prong cable inside that matches the replacement. For another example, the ST2000's two-prong power cable would plug directly into the printer with no issues.
Testing the Replacement
We powered the printer on after reconnecting the replacement power supply and plugging in the correct cable. Indications that the fix was effective included:
- The power button lit up.
- The LCD screen is activated.
- The carriage of the printhead started moving.
Those indicators confirmed that the second power supply was working. So if either of these steps goes awry, revisit your links and ensure compatibility between components retreading.
Comparing Power Supply Boxes
A side-by-side comparison of the original and replacement power supply boxes is helpful for a complete understanding. The ST2000 and the ST4000 boxes suck into the printer similarly. The mounting methods are the same, with:
- Panel with two holes (one for screw and the other for stabilizing nipple)
- A square hole in the bottom for a screw.
These parallels allow both units to be interchangeable from a structural level. But step inside, and the variations quickly become evident. The ST4000 has a three-prong outlet and green ground wire for increased safety. A ground wire provides a path for excess electrical currents to flow, which decreases the risk of electric shock. The two-prong design of the ST2000 is less elegant than that, and this feature is needed.
Identifying the Original Power Supply Failure
A look at the ST4000's power supply board showed me exactly what had failed. The orange fuse had clearly melted, and I could see the piece that had broken off. It was tilted with respect to standing straight up—clearly, something catastrophic happened. This tiny but highly important piece prevented the power supply from functioning.
Knowing how failures like this occur can help you determine if your best option is to repair or replace it. In some cases, a replaceable fuse can be found; however, if the board has other significant problems, replacing the unit will likely spare a lot of time and hassle.
Final Tips for Success
Note: Always check the power supply specifications before you install a replacement. Using the wrong type of unit can result in further damage.
To identify any sign of apparent faults, visually inspect the external and internal components If you are performing an initial test on a repaired printer, look for signs of life in the lights, screens, and moving parts. When in a position to do so, ensure that you have similar replacements (e.g., power supplies) on hand when repairing the equipment to reduce downtime.
We hope these steps help you identify and fix printers with power supply problems. If you want spare parts or tools, consider products from the BCH Technologies brand, which makes reliable printer repair accessories.
Watch the video below to see this repair in action.

