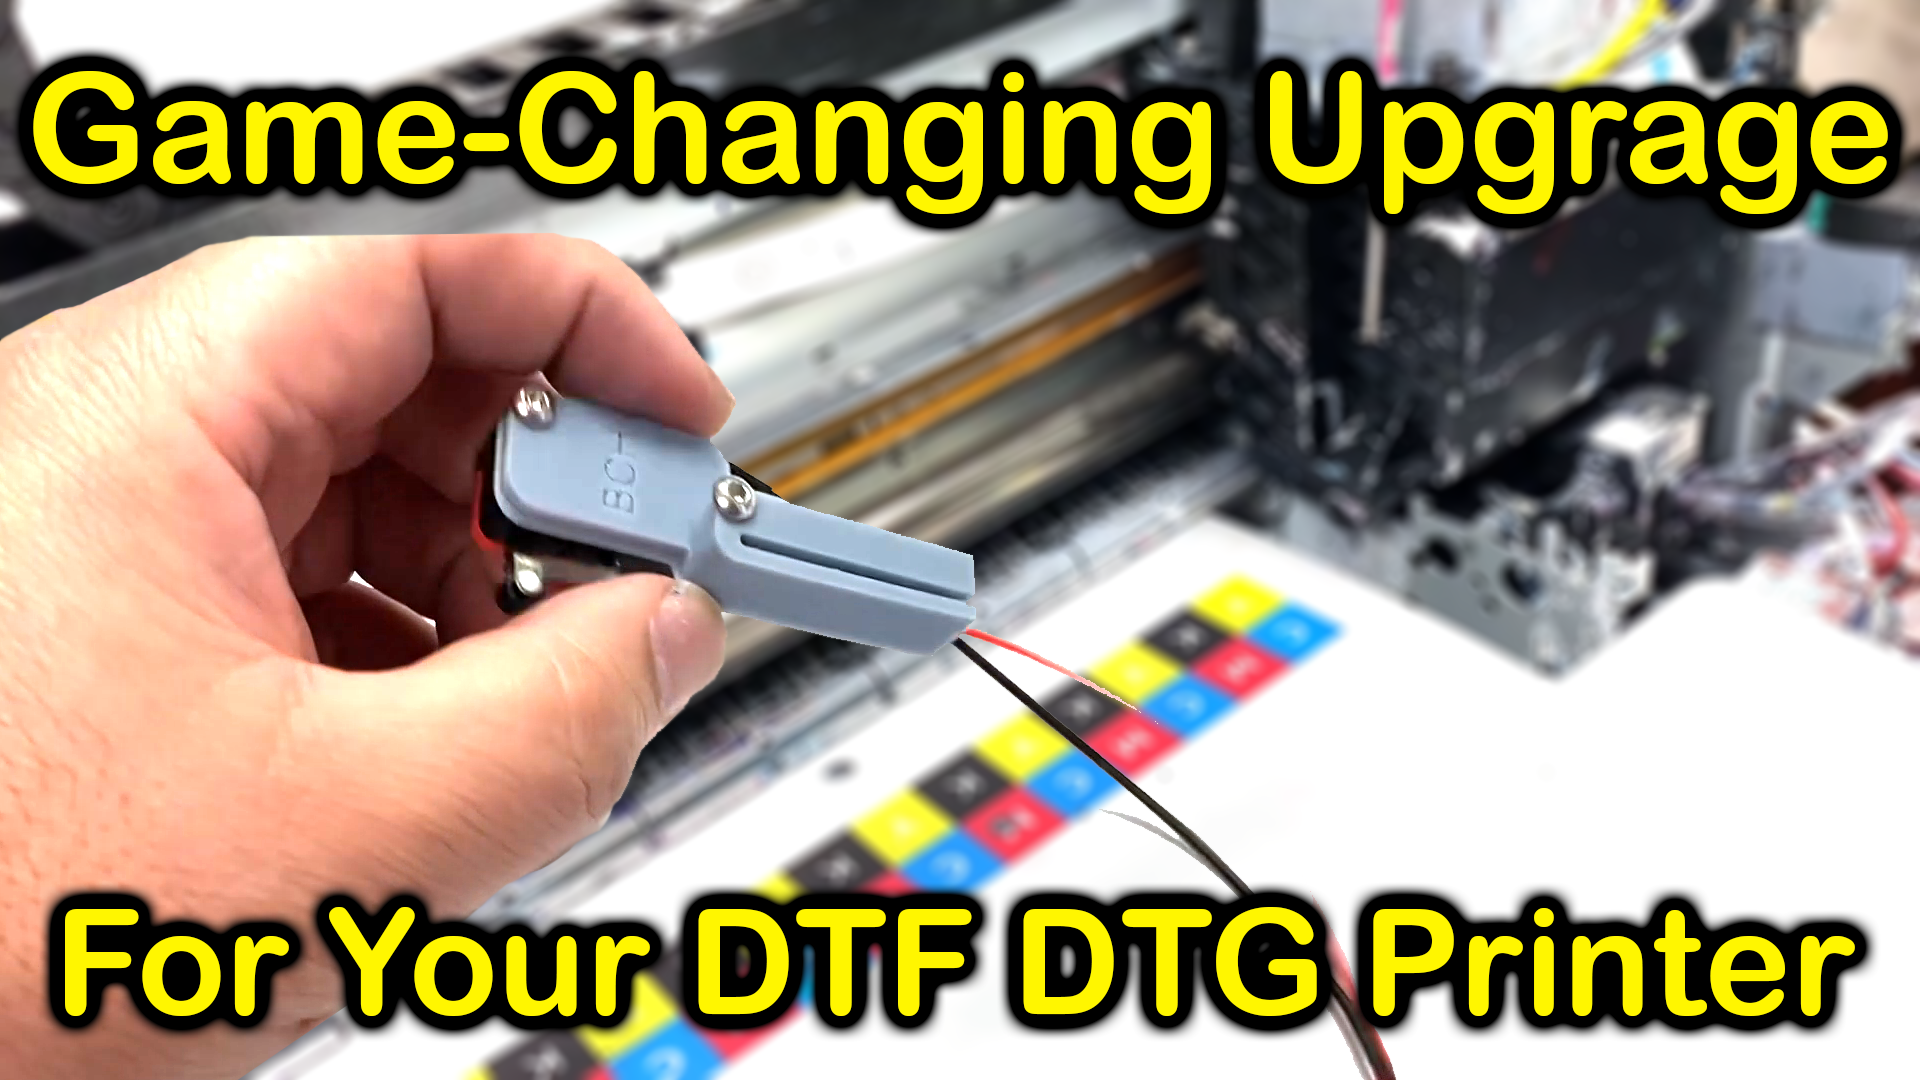
How to Install a Homing Sensor on an Epson L1800/1390 Printer
- By Ellen Joy
- On Nov 18, 2024
- Comment 0
When working with advanced printer modifications, installing a homing sensor can open up a world of possibilities for optimizing your device. This sensor detects when the printhead is parked at the capping station, signaling that the printer is idle. By integrating this functionality, you can automate tasks such as controlling a vacuum platform or preventing certain devices, like an ink pump, from running unnecessarily. In this blog post, we’ll guide you through the steps to add a homing sensor to your Epson L1800 or 1390 printer. Below, you'll also find a video to demonstrate the process in action.
Understanding the Homing Sensor
A homing sensor is a simple yet powerful device that monitors your printer's operational state. When the printhead is parked at the capping station, the sensor communicates this idle status. The sensor has two primary connections:
- Primary Connector: When the printer is not printing, no electricity flows through this connection.
- Reserve Connector: This stays active when the printer is idle, allowing you to drive additional devices.
By using these connectors strategically, you can automate devices such as vacuum platforms or ink pumps to align with your printing needs.
Preparing for Installation
Before starting the installation, ensure you have the following tools and components:
- Homing sensor kit (available from BCH Technologies)
- Wire stripper (or a substitute such as a cigarette lighter)
- Heat shrink tubes (included in your kit)
- Heat source (e.g., a hairdryer or heat gun)
Wiring the Homing Sensor
The first step in installing the sensor involves connecting it to your printer's motor wiring. Here’s how to do it:
- Identify the Motor Wires: Locate the top two wires (power supply) and the bottom two wires (motor connections). For this project, you’ll be working with the wires connected to the motor.
- Choose a Wire to Cut: Select either the red (positive) or black (negative) wire. It doesn’t matter which one you choose.
- Strip the Wire: If you have a wire stripper, use it to remove a small section of insulation. Alternatively, you can carefully melt the insulation with a cigarette lighter.
-
Attach the Sensor:
- Slide the shrink tubes over the cut wire.
- Connect the wire ends to the sensor's terminals.
- Slide the shrink tubes back into place and apply heat to secure the connection.
- Repeat for the Second Wire: Follow the same process for the second motor wire.
Installing the Sensor
With the wiring complete, you can now position the sensor on the printer:
- Align the Sensor: Slide the printhead slightly to the left to make room. Place the sensor so its roller aligns with the capping station.
- Test the Fit: The roller should depress fully when the printhead is parked at the capping station.
- Optional Adhesion: While the sensor doesn’t require glue, you can use adhesive if you prefer additional stability.
Testing the Setup
Once installed, test your configuration to ensure everything functions as expected:
- Set the Vacuum Power: Adjust the vacuum platform to your preferred power setting.
- Check the Sensor Activation: Observe whether the vacuum platform turns off when the printhead leaves the capping station and resumes when it returns.
- Connect Additional Devices: If needed, use the reserve connector to power other devices, such as an ink pump. Ensure they match the printer’s voltage (e.g., 12V or 24V).
Enhancing Printer Functionality
The beauty of the homing sensor lies in its versatility. Here are some potential applications:
- Automating Vacuum Platforms: As shown in our example, you can connect a vacuum platform to the sensor for seamless operation during printing cycles.
- Controlling Ink Pumps: Run the ink pump through the reserve connector to prevent it from operating while printing.
- Synchronizing Multiple Devices: You can link several devices to the sensor as long as they share the same voltage specifications.
Why Choose BCH Technologies?
At BCH Technologies, we provide high-quality printer accessories and modification kits to help you unlock your printer's full potential. Our homing sensor kits come with everything you need, from shrink tubes to easy-to-follow instructions, ensuring a hassle-free installation process.
For a detailed walkthrough of the installation, check out the video below to see how it’s done in real-time.

