


 Roll over image to zoom in
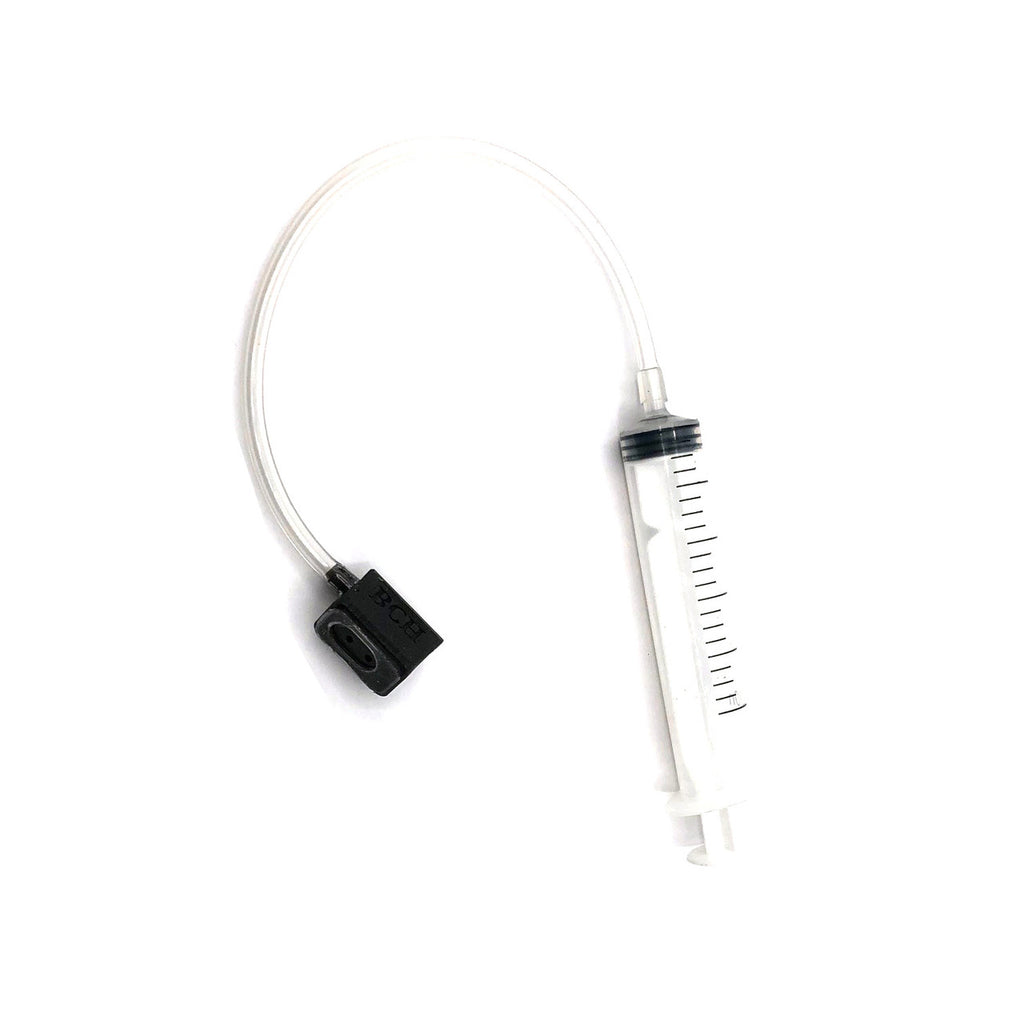
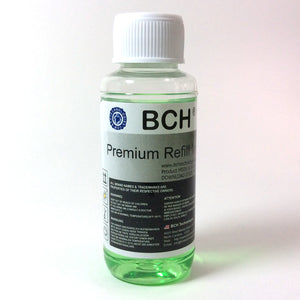
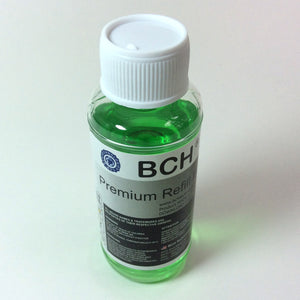
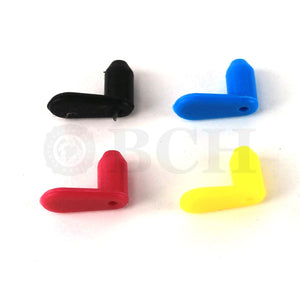
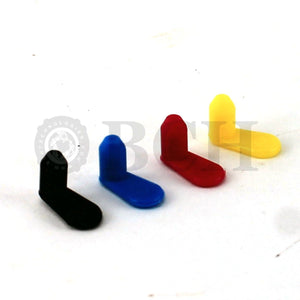
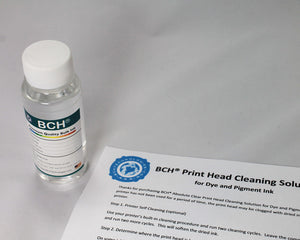
Unclogging Adapter for Epson Printhead Cleaning: XP-15000 XP-6000
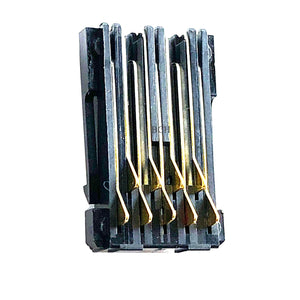
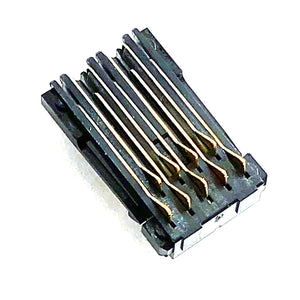
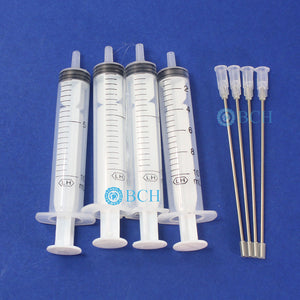
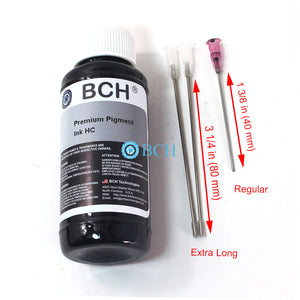
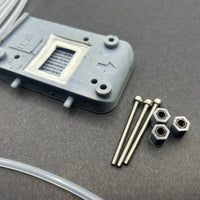
The package includes ONE adapter with a tube and a 10 ml syringe. The tip can work on Epson's black grommet directly. The adapter is designed to have an angle...
$12.99
SKU:
AS-FlushTip-XP15K
Categories:
The package includes ONE adapter with a tube and a 10 ml syringe. The tip can work on Epson's black grommet directly. The adapter is designed to have an angle with the syringe connection to fit the syringe into tight situations.
To use:
Position the printhead at the center of the printer. Power on the printer, and as the printhead begins to move, quickly disconnect the power. Ensure the printhead can move freely. Slide paper towels beneath the printhead to catch any excess ink.
1. Fill a small bowl with distilled water. Using the syringe, draw up 5 ml of this water.
2. Align the adapter with the ink oval-shaped intake on the printhead. Ensure they match precisely. Press down gently on the adapter, ensuring an airtight seal forms.
3. Use the syringe to draw up, avoiding pushing down. This action helps extract any obstructions from the printhead rather than pushing them deeper inside. Continuously check the seal's integrity. Practice until you're confident in creating a secure seal.
4. Dispose of the contaminated water. Refill the syringe with fresh water and repeat the above steps. This practice will help perfect your sealing technique.
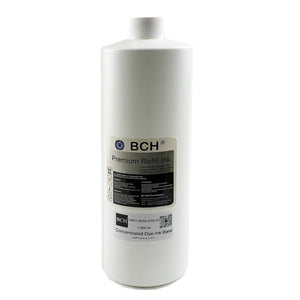
5. Draw 2 ml of cleaning solution into the syringe.
6. Secure the adapter to create an airtight seal. Slowly press the syringe, introducing the cleaning solution into the printhead. Monitor the seal to ensure no solution leaks. Apply gentle pressure; if excessive force is required, it's indicative of a severely clogged printhead. Over-pressuring can damage the printhead's internal membrane, leading to permanent damage.
7. Continue the cleaning process until the liquid flows smoothly. If the printhead was removed for this procedure, you should witness ink ejecting without resistance. While the cleaning solution will help soften blockages, it won't completely dissolve them. Therefore, give enough time (5-12 hours) between the cleaning. It's crucial to proceed with caution and patience to effectively clear the printhead without causing harm.
8. Execute the printer's internal cleaning cycles until the nozzle check yields flawless results. This function draws ink into the printhead, displacing the cleaning solution.
* Suggested cleaning solution for Dye, Pigment, and Sublimation:
** Small clog: Clear Cleaning Solution
** Medium clog: Green Cleaning Solution
** Extremely bad clog: Red Cleaning Solution
* Suggested cleaning solution for DTF, DTG, and Pigment
Related products
Add your product to the cart to view shipping rates. We've delivered to 289,762 customers in 149 countries.

Sign up for our newsletter to get weekly coupons and tips on printer refills and repairs.
Got a question? Don't hesitate to email us at support@bchtechnologies.com
Subscribe to Kevin's YouTube channel for the latest tips on printer repair and maintenance.
Recently viewed

34%

The Tubes Were Great! I Love The New Tubes! They Worked Out Perfectly! I Will Be Purchasing Other Items In Your Store. BCH You Are Awesome!!! Keep Up The Good Work!
Stevie Johnson
[C2] 3FT 1.8MM ID 8-Strand Solvent Ink Tubing for Color & White DTF Tube Large Format Printer CIS

I purchased this product and messed it up first time. I somehow got superglue onto the main circuit board on the colour cartridge and for some reason (not sure how) I messed up the black one too. I repurchased the product (x2). I tried again with the colour one first (which is meant to be the most difficult). I was careful to wrap the circuit board and print head in cling film and taped it down on top. I was careful with the superglue and let it dry upside down for 24 hours so that if the glue leaked anywhere it wouldn't go towards the circuit board. It works great. I now have a functioning refillable colour cartridge. I am glad I got the hardest one out of the way first. I will shortly try the black one. But fantastic that overall, I know this product will save me a fortune in printing now. The colour one is obviously the hardest and it works! Good job guys. (I am from the UK which is why we spell colour with a u lol).
Daniel Cunningham
Modification Kit for Making Spongeless Cartridge with Canon PG-210 CL-211 PG-240 CL-241 PG-245 CL-246 PG-243 CL-244 PG-260 CL-261 PG-275 CL-276
Yes, you can easily make your own with a washed out water bottle but these come ready to go and are a better quality plastic. I won’t be using mine as a waste tank since I have a my CISS but will be using the bottle for my maintenance and cleaning solutions.
David Sustaita
XLARGE Waste Ink Collection Tank Combo with Small Tube for Epson (AS-EP-WASTE-25MM)