


 Roll over image to zoom in
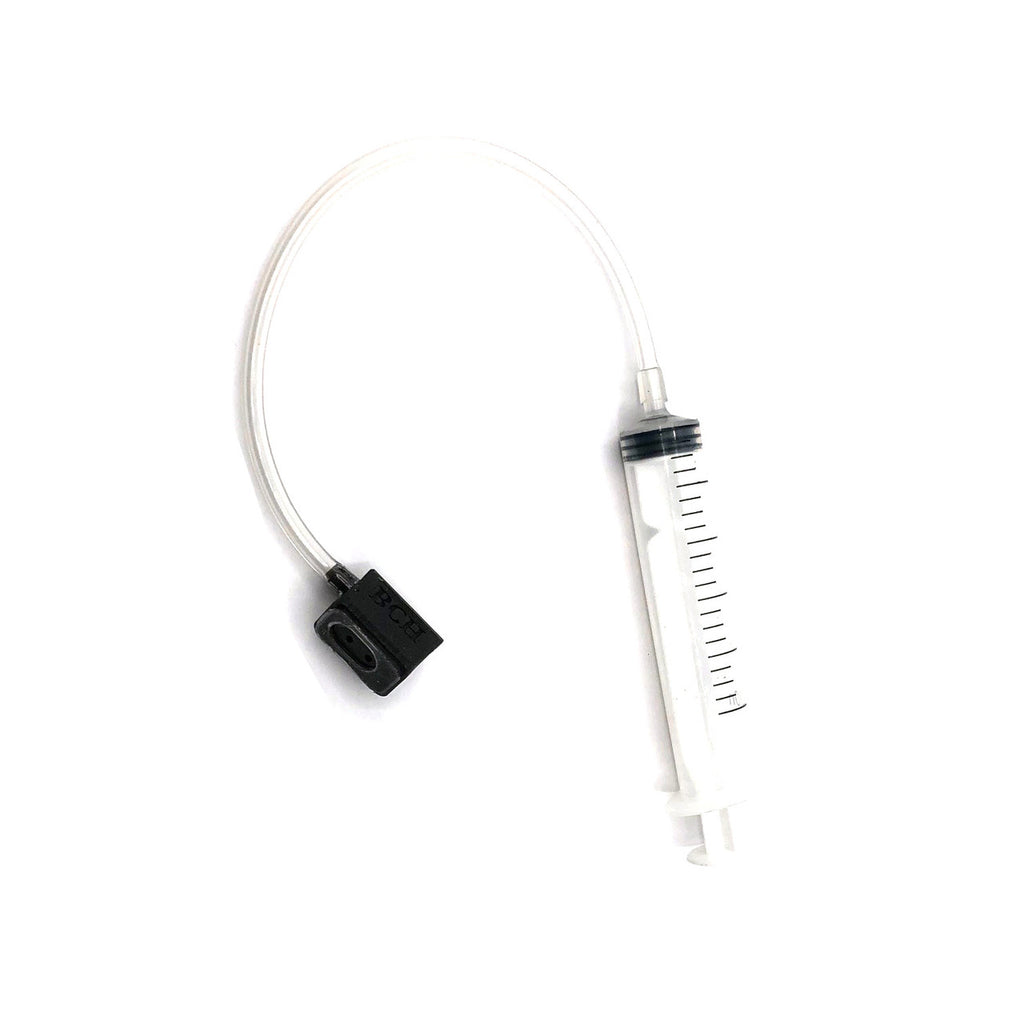
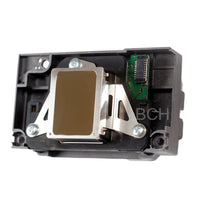
Unclogging Adapter for Epson Printhead Cleaning: XP-15000 XP-6000
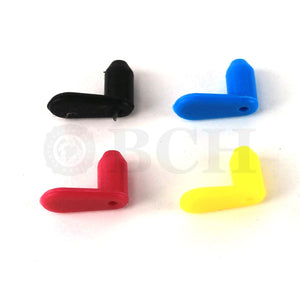
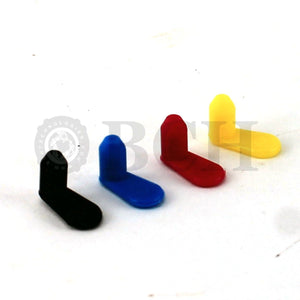
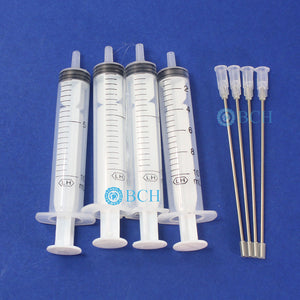
The package includes ONE adapter with a tube and a 10 ml syringe. The tip can work on Epson's black grommet directly. The adapter is designed to have an angle...
$12.99
SKU:
AS-FlushTip-XP15K
Categories:
The package includes ONE adapter with a tube and a 10 ml syringe. The tip can work on Epson's black grommet directly. The adapter is designed to have an angle with the syringe connection to fit the syringe into tight situations.
To use:
Position the printhead at the center of the printer. Power on the printer, and as the printhead begins to move, quickly disconnect the power. Ensure the printhead can move freely. Slide paper towels beneath the printhead to catch any excess ink.
1. Fill a small bowl with distilled water. Using the syringe, draw up 5 ml of this water.
2. Align the adapter with the ink oval-shaped intake on the printhead. Ensure they match precisely. Press down gently on the adapter, ensuring an airtight seal forms.
3. Use the syringe to draw up, avoiding pushing down. This action helps extract any obstructions from the printhead rather than pushing them deeper inside. Continuously check the seal's integrity. Practice until you're confident in creating a secure seal.
4. Dispose of the contaminated water. Refill the syringe with fresh water and repeat the above steps. This practice will help perfect your sealing technique.
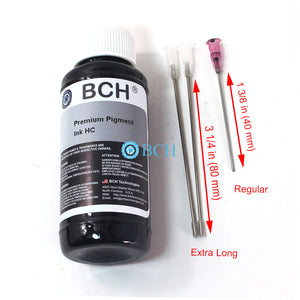
5. Draw 2 ml of cleaning solution into the syringe.
6. Secure the adapter to create an airtight seal. Slowly press the syringe, introducing the cleaning solution into the printhead. Monitor the seal to ensure no solution leaks. Apply gentle pressure; if excessive force is required, it's indicative of a severely clogged printhead. Over-pressuring can damage the printhead's internal membrane, leading to permanent damage.
7. Continue the cleaning process until the liquid flows smoothly. If the printhead was removed for this procedure, you should witness ink ejecting without resistance. While the cleaning solution will help soften blockages, it won't completely dissolve them. Therefore, give enough time (5-12 hours) between the cleaning. It's crucial to proceed with caution and patience to effectively clear the printhead without causing harm.
8. Execute the printer's internal cleaning cycles until the nozzle check yields flawless results. This function draws ink into the printhead, displacing the cleaning solution.
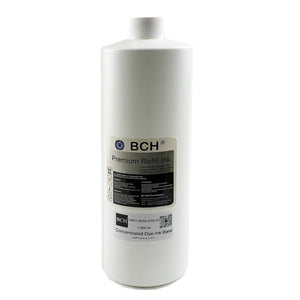
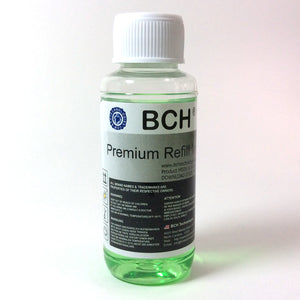
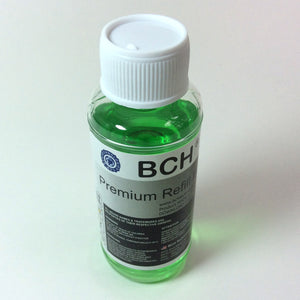
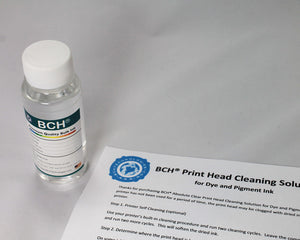
* Suggested cleaning solution for Dye, Pigment, and Sublimation:
** Small clog: Clear Cleaning Solution
** Medium clog: Green Cleaning Solution
** Extremely bad clog: Red Cleaning Solution
* Suggested cleaning solution for DTF, DTG, and Pigment
Related products
Add your product to the cart to view shipping rates. We've delivered to 289,762 customers in 149 countries.

Sign up for our newsletter to get weekly coupons and tips on printer refills and repairs.
Got a question? Don't hesitate to email us at support@bchtechnologies.com
Subscribe to Kevin's YouTube channel for the latest tips on printer repair and maintenance.
Recently viewed


VERY VERY SUPER PRODUCT. I purchased this product from Kevin and I can always say that Kevin is the best. Kevin definitely creates the best videos on the web. He has the best products and I always buy from him. Kevin also always recommends the best methods. I always recommend buying BCH TECHNOLOGIES products to always have perfect printers.
Alessandro R.
Instruction Sheet for L1800 / 1390 Printhead Testing with Multimeter (Digital Download) Instant Download — Delivered to Your Email
Best thing ever!! i used to put cleaning solution in the capping station with a syringe/hose then had to suck out f the wast line with a syringe.... over and over until the capping station was clean. maybe up to 10 times. now i just use maybe 1 or 2 - 30ml syringes full of water and the pump cleans it out so good.... then I put capping solution, place printhead over capping station and turn on the back of the machine. thats it. when i print again, usually next day, I pull from waste tank a few times until I get ink, then i run 1 head cleaning , print a test strip and usually good to go. I sometimes print a 2nd test strip. SO MUCH easier to use this little pump. so glad I bought it.
Ruth F.
TMS Printhead Maintenance System by BCH: Comprehensive Cleaning and Maintenance Solution
This is a must have modification to save time troubleshooting. You will need to download Kevin's capping station video to disassemble the capping station. A definite must. You will also need a few other connections to hook this up. All parts are linked in his videos. Pro tip. Have patience and go slow. This modification will save you from a lot of headaches . I did this mod on Procolored L1800 about a year old . Thanks Kevin.
Vincent K.
Waste Ink Collection Tank Combo with Small Tube for Epson (AS-EP-WASTE-25MM)