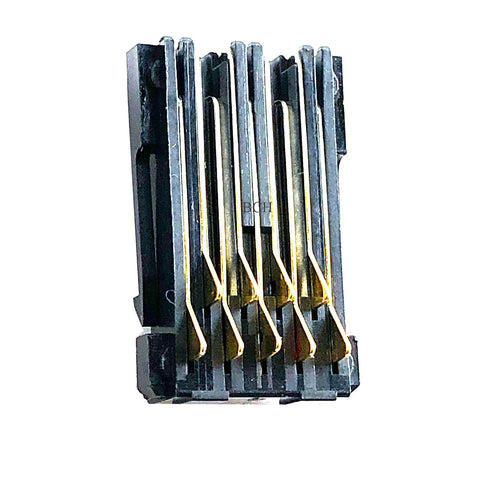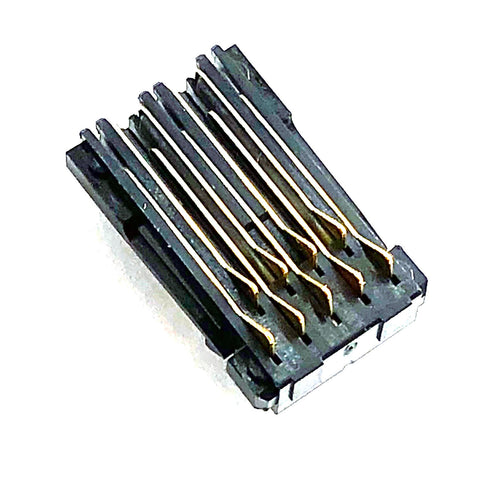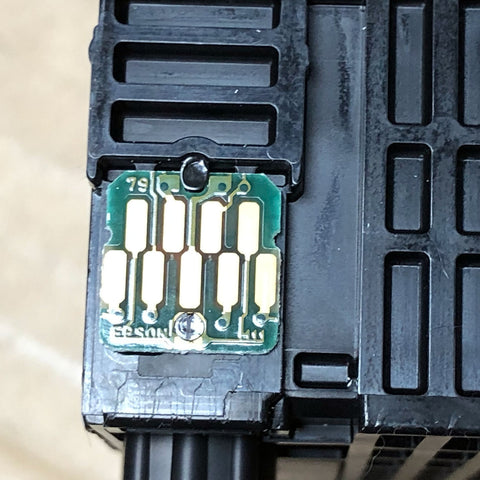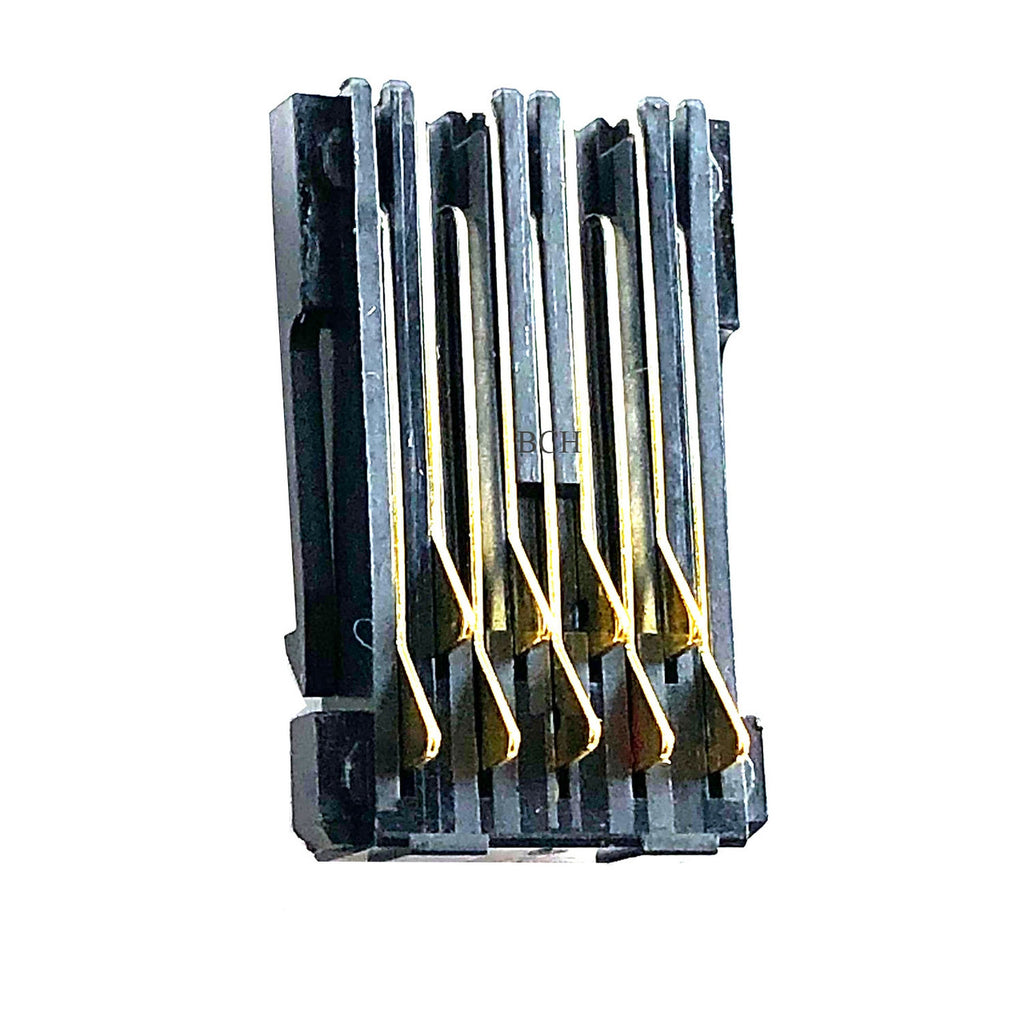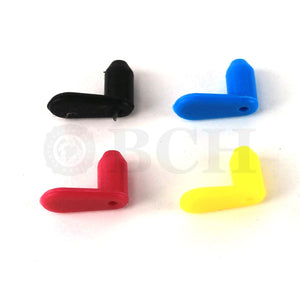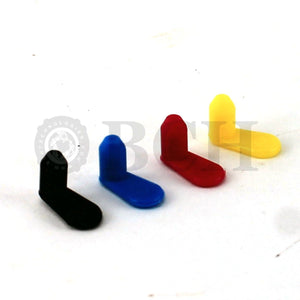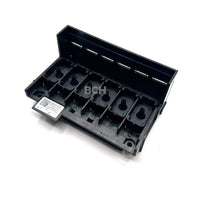
One Regular Epson Cartridge Chip Board CSIC Pins (9-pin): WorkForce, Expression, XP, WF
$7.99
Package includes: 1 x 9-Pin. Regular (un-Winged).
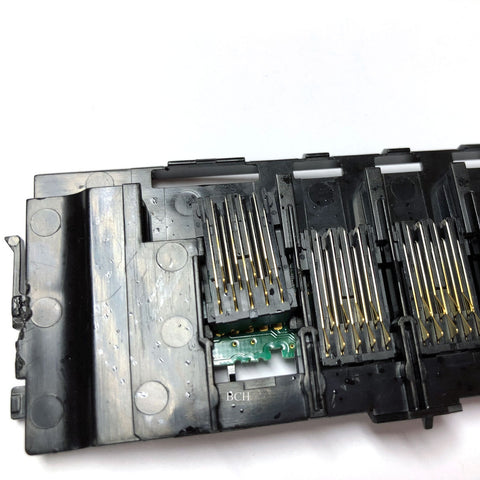
- Replace broken CSIC pins on ECB (Epson Cartridge Board). Epson's contact pins are notoriously easy to break. When the pin break, it creases "cartridge cannot be recognized" error. Instead of throwing the printer away, we can replace the broken pin with a new assebly.
- Package includes: One Regular un-Winged 9-pin assembly.
- If your 9-Pin looks weird and has two long arms on the top, you probably need this one instead (click).
How can I know what kind of CSIC my Epson uses?
- NUMBER OF PINS. Count number of pins on your broken one, if it is 9, then keep reading. If it has 7 pins, then the product is not for you. Go to here (click).
-
WINGED OR UNWINGED.
- The winged pins are usually used by older models like Artisan 1400 1430, some Stylus and early models of WorkForce (e.g., WF-830, WF-835). They will have two long arms on the top. Here is a picture example.


- The regular un-winged 9-pin is used in newer models such as WorkForce WF-3620 WF-3620 WF-7720 and Expression XP model such as XP-6100 XP-7100. It is the most popular 9-pin.

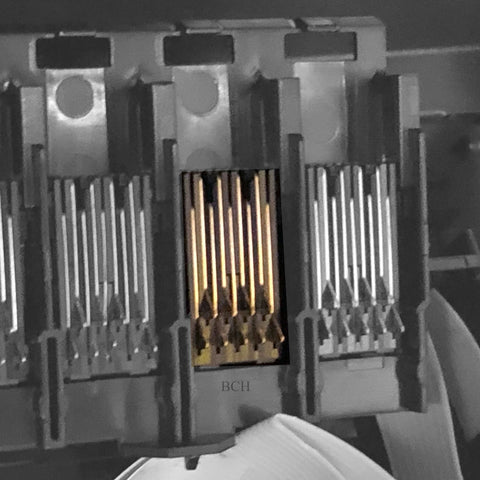
- The regular (un-Winged) pins are more triangular. The winged pins are rounder.


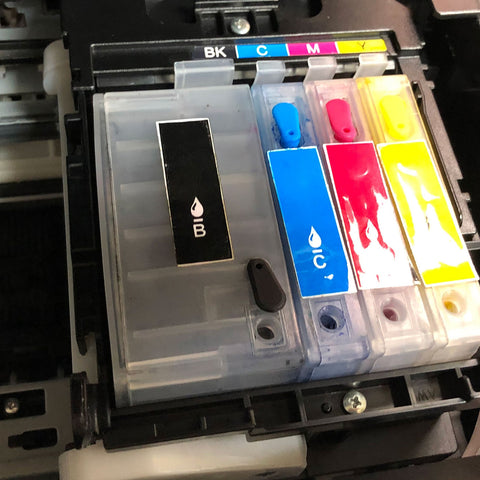
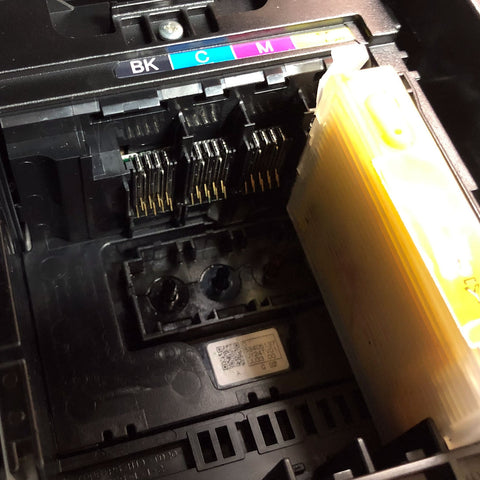
- If your printer has a structure surrounds the 9-pin, so you cannot see if it has wing or not. It should be regular (un-Winged). If you have a winged 9-pin, it should be very easy to tell. Example of 9-Pin in Expression XP. The top is covered by blue plastics but you can tell it is a regular from the triangular shape of the pins.

WorkForce 6090. You can tell it is a regular (un-winged) because 1) it is a WorkForce 2) It has triangular shaped pins.
- The winged pins are usually used by older models like Artisan 1400 1430, some Stylus and early models of WorkForce (e.g., WF-830, WF-835). They will have two long arms on the top. Here is a picture example.
- Easy installation:
- 1. Remove ECB from base
- 2. Slide out the assembly with broken pins
- 3. Slide in the new assembly
Related products
Complete Your Purchase
Categories
Add your product to the cart to view shipping rates. We've delivered to 289,762 customers in 149 countries.

Sign up for our newsletter to get weekly coupons and tips on printer refills and repairs.
Got a question? Don't hesitate to email us at support@bchtechnologies.com
Subscribe to Kevin's YouTube channel for the latest tips on printer repair and maintenance.
Recently viewed

Yes, you can easily make your own with a washed out water bottle but these come ready to go and are a better quality plastic. I won’t be using mine as a waste tank since I have a my CISS but will be using the bottle for my maintenance and cleaning solutions.
David Sustaita
XLARGE Waste Ink Collection Tank Combo with Small Tube for Epson (AS-EP-WASTE-25MM)

I can’t say enough about this company! Sent my main board in for repair and they were fast and the cost was reasonable. They are also quick to respond. This is not the first item I’ve purchased from them and won’t be the last. Also, the YouTube videos are a must to watch!
Nancy Donaldson
Fast Track Mainboard Repair: L1800, XP-15000, ET-15000, WF-7610 7620, WF-7110, WF-7710 7720, ET-8550, ET-2720, ET-2750Printer Mainboard, Formatter Board, Motherboard Troubleshooting and Repair

I have an old Epson ET-2750 eco tank printer, which I have used for years, and since it is uses refillable ink tanks, have used very little ink over the years. I love this printer because I can print lots and lots of pages, including double-sided at very low cost, and it is very reliable. I recently had a paper jam, which is very unusual. When I took off the back panel to clear the jam, I accidentally dropped it on the floor, and when I replaced the back panel, the printer jammed every time I tried to print double-sided. I found a small plastic piece on the floor that fit on one end of the roller, but didn't realize I was missing the other end. I eventually noticed that there was a gear on the back panel next to where the roller fits into the panel. I deduced that I must be missing a gear to pop into the end of the roller, to mesh with the gear on the panel. I couldn't find the missing gear anywhere, and figured my cats must have lost it or my wife might have swept it up when sweeping the floor, and discarded it. Through a Google search, I found BCH Technologies, ordered the part from them, it fit perfectly, and now I can print double-sided again on my faithful old Epson printer. I very much appreciated being able to get the missing part from them. I thought the price for the part and shipping was high for such a small part, but that was the only down side.
Daniel Parker
Duplex Roller Feed Gear for Epson Printers

